
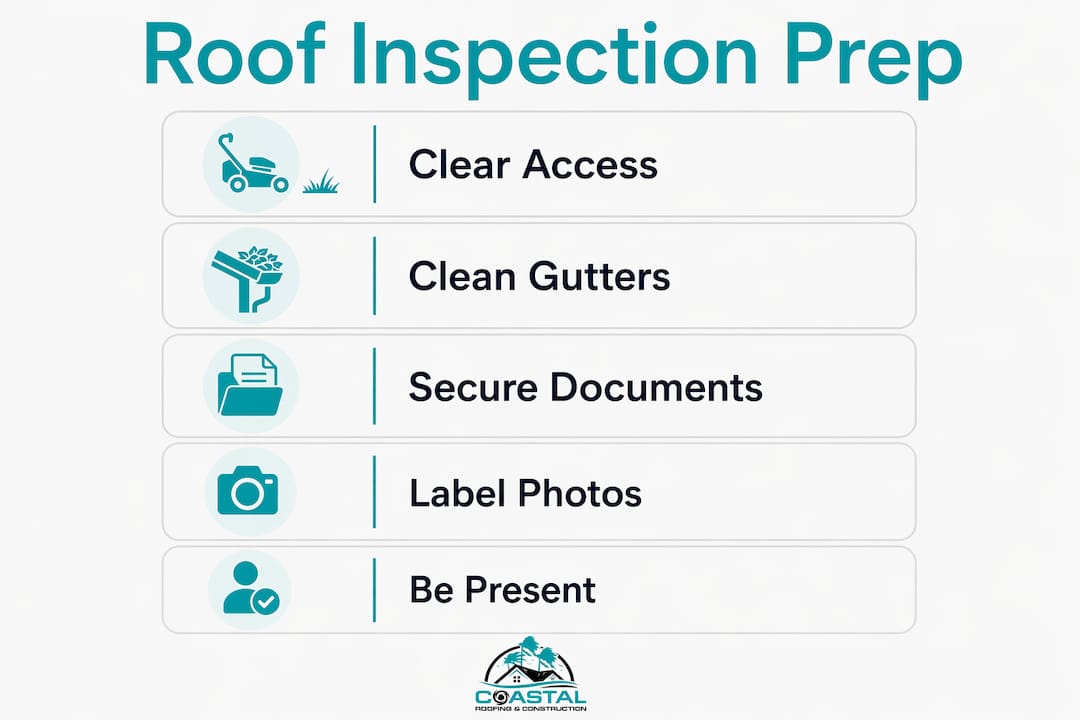
Before your inspector arrives, three things matter most: clear access to the roof and attic, clean gutters, and your documentation folder. Get those right and you’ve already set the inspection up for success. Most professional residential inspections for a standard single-family home typically take 30–60 minutes, and fees vary based on roof size and complexity.
Here’s the short prep list, in order of impact:
- Clear gutters and remove roof debris first — clogged gutters are one of the most common negative findings and can hide water-backup damage underneath shingles
- Open attic access by moving stored items away from the hatch and creating a direct path to key inspection zones
- Gather your documentation (installation invoice, repair receipts, warranty paperwork, any dated photos)
- Secure pets indoors before the inspector arrives — ladder noise and roof access genuinely distress animals and slow the process
- Note your specific concerns in writing: ceiling stains, storm noises, any spots where you’ve seen moisture
Pro Tip: Stay present during the inspection. Being on site lets you ask questions in real time and turns a technical report into a clear action plan. An inspector who discourages you from observing is worth a second look.
Table of Contents
- Why does a professional roof inspection matter for homeowners?
- When should you schedule a roof inspection?
- How to prepare for a roof inspection: step-by-step checklist
- What do professionals actually inspect? A full component breakdown
- What happens during the inspection and how to read the report
- How do you choose the right inspector or contractor?
- What does a roof inspection cost, and how long does the whole process take?
- Key Takeaways
- What Tampa Bay homeowners get wrong about roof inspections
- Coastal Roofing & Construction offers licensed inspections across Tampa Bay
- Authoritative sources and further reading
Why does a professional roof inspection matter for homeowners?
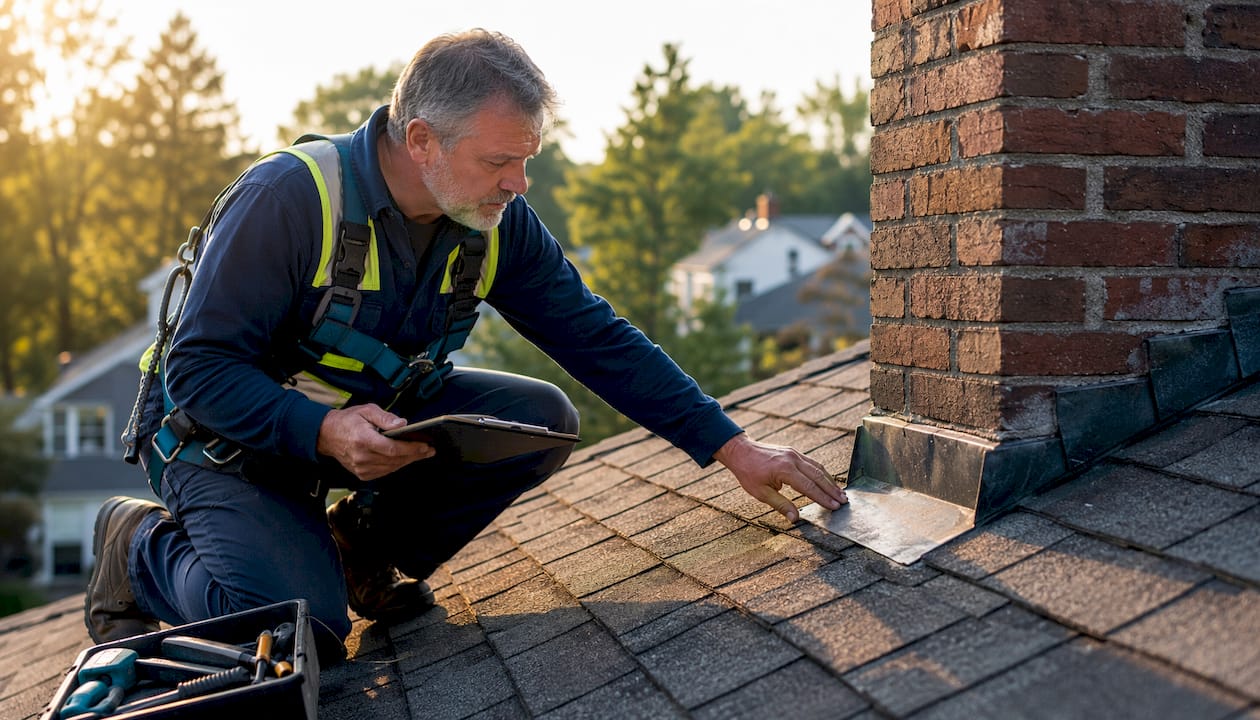
A professional roof inspection is a systematic evaluation of both the exterior surface and the interior attic, typically covering more than 25 distinct components across those two zones. It’s not a contractor walking around and eyeballing shingles. A thorough inspection documents condition, identifies failure points, and creates a written record you can use for insurance claims, warranty work, or a home sale.
The practical reasons to schedule one regularly:
- Early detection saves money. A small flashing gap caught now is a $200 repair. Left alone through a Florida rainy season, it becomes a $4,000 decking replacement.
- Insurance documentation. Carriers increasingly require photo-documented inspection reports before processing storm claims or renewing policies on older roofs.
- Warranty compliance. Many manufacturer warranties, including those from GAF and Owens Corning, require documented maintenance records to remain valid.
- Pre-sale clarity. Buyers’ inspectors will find problems regardless. Knowing what’s there before listing gives you time to repair or price accordingly.
- Baseline for future comparisons. A dated, photo-documented report tells you whether a new finding is recent damage or long-standing wear.
A qualified inspector delivers itemized findings with photographs, severity levels, and recommended next steps. If you receive a one-page summary with no photos, ask for more.
When should you schedule a roof inspection?
The standard recommendation is once a year, ideally in spring after winter weather or in early fall before hurricane season peaks. For Tampa Bay homeowners, that fall window (September through October) is particularly useful because it catches any summer storm damage before the next active season begins.
Beyond routine cadence, certain events should trigger an inspection regardless of when you last had one:
- After a named storm or significant hail event — even if you see no obvious damage from the ground
- Before listing your home for sale — gives you time to repair or disclose
- After a suspected interior leak — ceiling stains, drips, or musty attic odors
- Before or after contractor work on the roof — establishes condition before and confirms quality after
- When your roof approaches the end of its rated life (typically 20–25 years for asphalt shingles, longer for metal or tile)
For insurance or sale processes, expect the written report to arrive within 24–72 hours of the inspection. If you need it for a closing, schedule at least two weeks out to allow time for any follow-up questions or supplemental documentation.
How to prepare for a roof inspection: step-by-step checklist
Preparation isn’t about hiding problems. As one industry resource puts it, clearing debris beforehand lets the inspector focus on material condition rather than deferred maintenance that can obscure root causes. Here’s how to organize your prep by timeline.
Two or more weeks before
- Pull your documentation folder together. Locate the original installation invoice, any repair receipts, warranty certificates, and past inspection reports. Even a rough timeline of what work was done and when is more useful than nothing.
- Walk the perimeter at ground level. Note anything obviously wrong: missing shingles, sagging gutters, granule buildup in downspout splash zones, staining on fascia boards. Write it down with approximate locations.
- Check the attic. Look for water stains on the decking or rafters, daylight visible through the roof deck, insulation that appears wet or compressed, and any signs of mold. Take dated photos of anything you find.
48–72 hours before
- Clean the gutters. This is the single highest-impact prep task. Clogged gutters are a frequent negative finding and can signal water backup under the shingle edge.
- Clear roof debris (leaves, branches, moss buildup) if you can safely do so from a ladder at the eave. Do not climb onto the roof yourself unless you are experienced and have proper safety equipment.
- Do not pressure wash asphalt shingles. Pressure washing strips granules and accelerates shingle aging — it will make the roof look worse on inspection, not better.
Day of inspection
- Clear the driveway so the inspector’s vehicle and ladder have unobstructed access.
- Open the attic hatch and move any stored items away from it. Create a direct walking path to the main inspection zones. Bring a flashlight if the attic light is unreliable.
- Secure all pets indoors. Ladder noise and roof access can seriously distress animals and interrupt the inspection flow.
- Have your written list of concerns ready to hand the inspector at the start. A documented list of homeowner-observed issues (storm noises, ceiling stains, localized leaks) helps the inspector target the assessment and saves time.
Pro Tip: Label any photos you’ve taken with the date and a brief location note (“north slope, near chimney, March 2026”). Inspectors and insurers both find labeled photos far more useful than an unmarked camera roll.
What do professionals actually inspect? A full component breakdown
A complete inspection covers the exterior surface, the drainage system, penetrations, and the attic interior. The table below maps each component to what the inspector examines and what you, as a homeowner, might notice at ground level or from inside the attic.
| Component | What the inspector checks | Homeowner clues |
|---|---|---|
| Asphalt shingles | Granule loss, cracking, curling, blistering, missing tabs | Granules in gutters or at downspout base |
| Ridge cap | Seal integrity, cracking, missing sections | Visible gaps along the roof peak |
| Valleys | Flashing condition, open vs. closed valley wear | Dark streaking or moss along valley lines |
| Step flashing | Seal at wall/roof junctions, rust, separation | Interior stains near dormers or additions |
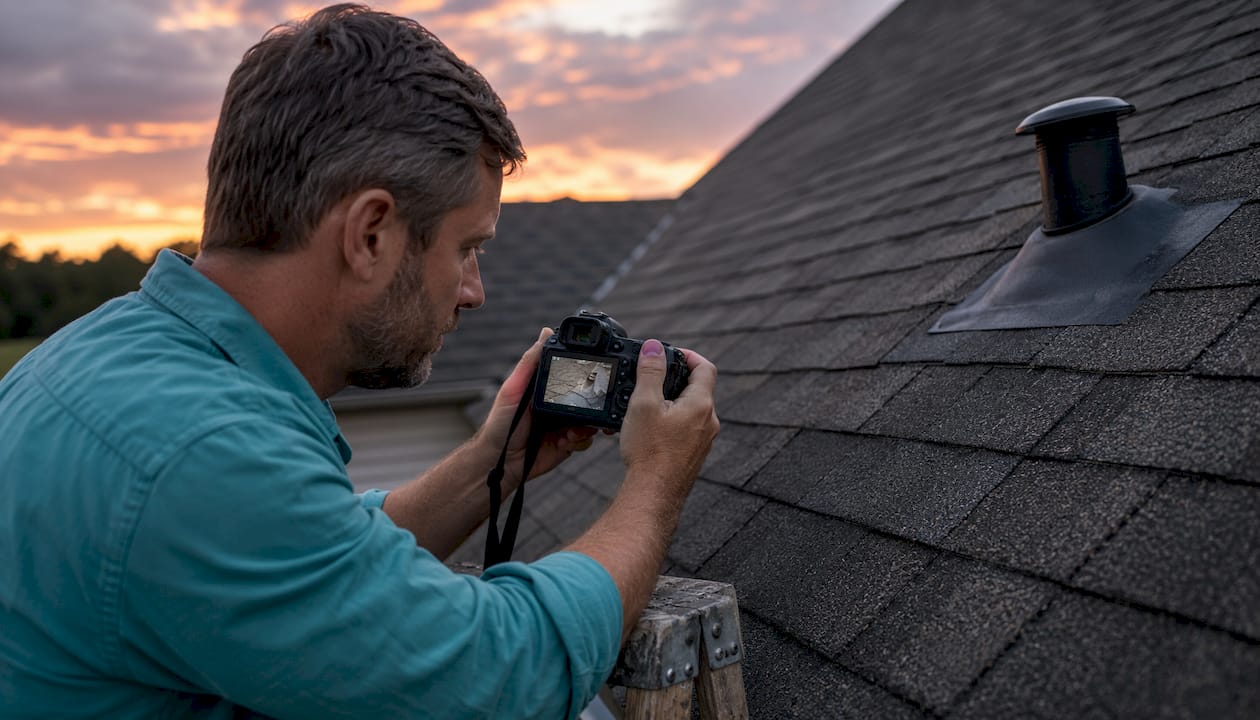
| Chimney flashing | Counter-flashing, base flashing, sealant condition | Water stains on ceiling near fireplace |
| Pipe boots | Rubber collar condition, cracking, separation | Staining around pipe penetrations inside attic |
| Skylights | Frame seal, flashing, condensation signs | Fogging inside glass, ceiling stains nearby |
| Drip edge | Proper installation, rust, gaps | Fascia board staining or rot |
| Gutters | Attachment, slope, clogging, seam integrity | Overflowing water, sagging sections |
| Downspouts | Secure attachment, proper discharge direction | Pooling water near foundation |
| Fascia and soffit | Rot, paint failure, pest entry points | Soft spots, paint peeling, wasp nests |
| Roof deck / sheathing | Soft spots, delamination, rot, moisture staining | Visible sag from ground level |
| Underlayment | Exposure, tears, proper lapping | Only visible during tear-off; inspector notes age |
| Attic ventilation | Net free area, balance of intake and exhaust | Excessive heat in attic, premature shingle aging |
| Attic insulation | Depth, coverage gaps, moisture damage | Uneven temperatures room to room |
| Attic framing | Cracking, sagging rafters, pest damage | Visible cracks or deflection in rafters |
| Active/historic leaks | Staining, mold, efflorescence on decking | Water stains, musty smell, mold on rafters |
| Vents (ridge, box, turbine) | Proper function, blockage, seal condition | Blocked vents, rust staining |
| Flashing (general) | All transitions sealed, no rust or separation | Any interior staining near a roof transition |
| Sealants and caulk | Cracking, shrinkage, adhesion failure | Visible gaps at penetrations |
| Fascia boards | Rot, paint failure, proper nailing | Soft or discolored wood at eave line |
| Metal roofing panels | Panel seam integrity, fastener condition, corrosion | Rust streaks on walls below panels |
| Tile roofing | Cracked, slipped, or missing tiles; mortar condition | Visible broken tiles from ground |
| Flat roof membrane | Ponding water, seam separation, blistering | Interior ceiling stains in flat-roof areas |
| Chimney masonry | Spalling, mortar joint condition, crown integrity | Brick debris on roof or in gutters |
The most commonly missed items in residential inspections are pipe boots (the rubber collars around plumbing vents crack with UV exposure and are a leading source of attic leaks), step flashing at wall-to-roof junctions, and attic ventilation balance — an under-ventilated attic causes premature shingle failure from below, which no amount of surface maintenance can prevent.
Pro Tip: Ask the inspector to photograph every problem item and note whether it’s an immediate safety concern, a repair within 12 months, or a monitor-and-maintain item. That three-tier severity system turns a long findings list into a manageable action plan.
What happens during the inspection and how to read the report
Most inspectors follow a consistent sequence: a ground-level walk of the perimeter, a ladder or roof walk if the pitch and conditions allow, and then an attic evaluation. The whole process runs 30–60 minutes for a standard home, or up to 90 minutes for complex roofs with multiple planes, dormers, or mixed materials.
Walk with the inspector when you can. Real-time conversation turns technical observations into clear next steps, and being present lets you ask follow-up questions before the findings get filtered into a written summary. Good questions to ask on site:
- “Is this damage recent or has it been developing for a while?”
- “What’s the estimated remaining life on this roof?”
- “Is the attic ventilation adequate for this roof system?”
- “Which repairs are urgent versus which can wait 12 months?”
- “Are there any areas I should photograph myself for insurance documentation?”
When the report arrives, look for four things: itemized findings (not just a summary paragraph), photographs keyed to each finding, a severity or priority level for each item, and recommended next steps with approximate timelines. For a deeper walkthrough of what each section of the report means, the inspection report guide from Coastal Roofing & Construction breaks it down component by component.
After the report, your immediate actions: get at least two written repair estimates for any flagged items, schedule urgent repairs before the next rain season, and photograph the completed repairs for your records. That before-and-after documentation matters for insurance and for the next buyer.
How do you choose the right inspector or contractor?
Hiring the wrong inspector is worse than skipping the inspection entirely — a vague or incomplete report gives you false confidence. Here’s how to verify before you commit.
- Confirm licensing and insurance. In Florida, roofing contractors must hold a state license. Ask for the license number and verify it through the Florida Department of Business and Professional Regulation. Require proof of general liability and workers’ compensation insurance.
- Check for manufacturer certifications. Contractors certified by GAF (Master Elite), Owens Corning (Platinum Preferred), or similar programs have completed additional training and are held to higher installation standards. Understanding which roofing certifications matter helps you ask the right questions before hiring.
- Request a sample report. A qualified inspector’s sample report should include photographs, component-by-component findings, and severity classifications. If the sample is a one-page checklist with checkmarks, keep looking.
- Ask about their inspection process. A good inspector will describe the attic evaluation as a standard part of the process, not an add-on.
- Compare follow-up estimates carefully. Look for line-item pricing, specific materials listed, warranty terms on both labor and materials, and a clear scope of work. A roofing contract guide can help you parse the fine print before signing.
Red flags to watch for:
- No photographs in the report or sample report
- Vague findings like “roof in fair condition” with no specifics
- Pressure to sign a repair contract the same day as the inspection
- Unwillingness to let you observe the inspection from a safe position
- No written estimate — verbal quotes only
What does a roof inspection cost, and how long does the whole process take?
Inspection fees for a standard single-family home typically run $150–$400, with price influenced by roof size, pitch, number of stories, and material complexity. Tile and metal roofs generally cost more to inspect than standard asphalt shingle roofs because they require more time and care on the roof surface. Some contractors include an inspection as part of a free estimate for replacement work; if that’s the case, confirm the inspection will be documented in writing regardless.
| Stage | Typical timeframe |
|---|---|
| On-site inspection (standard home) | 30–60 minutes |
| On-site inspection (complex roof) | Up to 90 minutes |
| Written report delivery | 24–72 hours after inspection |
| Repair estimate(s) received | 3–7 days after inspection |
| Repair scheduling (minor repairs) | 1–2 weeks after estimate |
| Full replacement project (planning to final inspection) | 2–6 weeks |
For insurance claims, the timeline compresses or expands based on your carrier’s adjuster schedule. Having your photo-documented inspection report ready before you file speeds the process considerably.
Documents to have ready when working with an insurer or contractor:
- Dated inspection report with photographs
- Original installation invoice and warranty certificate
- Repair receipts with dates and contractor names
- Your own dated photos of any damage or concerns
- Homeowners insurance policy declarations page
Key Takeaways
Preparing for a roof inspection comes down to three priorities: clear access, clean gutters, and organized documentation — everything else builds on those.
| Point | Details |
|---|---|
| Clear access first | Open attic hatch, move stored items, clear the driveway before the inspector arrives. |
| Clean gutters before inspection | Clogged gutters are a top negative finding and can hide water-backup damage under shingles. |
| Gather documentation | Collect installation invoices, repair receipts, and warranty certificates before the inspection date. |
| Attend and ask questions | Being present during the inspection turns technical findings into a clear, prioritized repair plan. |
| Coastal Roofing & Construction | Serves Tampa Bay homeowners with licensed, photo-documented inspections and manufacturer-certified repair and replacement services. |
What Tampa Bay homeowners get wrong about roof inspections
Most homeowners treat a roof inspection as something that happens to them rather than something they participate in. That’s the wrong frame. The inspection is most useful when you show up with a written list of concerns, your documentation folder, and a willingness to follow the inspector around and ask direct questions.
The other thing worth saying plainly: in the Tampa Bay area, the stakes are higher than in most U.S. markets. Florida’s combination of intense UV exposure, hurricane-force wind events, and year-round humidity means roofs here age differently than they do in the Midwest or Northeast. Algae and moss growth can obscure granule loss. Attic ventilation problems that would cause minor discomfort in a dry climate accelerate shingle failure here within a few years. And after a named storm, the damage that matters most is often not the missing shingles you can see from the street — it’s the lifted flashing, the cracked pipe boots, and the compromised step flashing that won’t show up until the next heavy rain.
The best time to schedule in Tampa Bay is October through November, after the peak of hurricane season and before the holiday slowdown. Spring (March through April) is a strong second window. Avoid scheduling during active storm season if you can; inspectors are in high demand after major weather events and report turnaround times stretch.
One more local nuance: if your inspection findings lead to a full replacement, Florida’s permitting requirements mean the replacement process takes longer than homeowners expect. Build that into your timeline, especially if you’re selling.
Coastal Roofing & Construction offers licensed inspections across Tampa Bay
If your inspection turns up problems, or if you simply want a licensed, manufacturer-certified contractor to do the inspection right the first time, Coastal Roofing & Construction serves homeowners throughout Pinellas, Hillsborough, and Pasco Counties. The team is certified by GAF and Owens Corning, which means the inspection findings come with a clear understanding of what those manufacturer warranties actually require to stay valid.

Every inspection includes a photo-documented report with itemized findings and severity levels. From there, Coastal Roofing & Construction handles repairs, full roof replacement, storm damage restoration, and preventative maintenance across asphalt shingle, tile, metal, and flat roofing systems. You can see completed projects in the work portfolio before making any decisions. To request an inspection or get a written estimate, contact Coastal Roofing & Construction directly through the website or by phone. Ask specifically for a photo-documented report when you book.
Authoritative sources and further reading
The following sources informed this guide and are worth bookmarking for your own records:
- Professional Roof Inspection: A Homeowner’s Guide — National Roofing Contractors Association guidance on what a professional inspection should cover and what homeowners should expect
- Consumer Reports Roofing Buying Guide — independent guidance on choosing contractors, understanding bids, and evaluating roofing materials
- GAF Homeowner Education Resources — manufacturer guidance on warranty documentation, maintenance records, and what voids coverage
- How to Prepare for an Insurance Roof Inspection — practical prep checklist with specific do’s and don’ts, including the pressure-washing warning
- Roof Inspection Checklist — component-by-component breakdown of what inspectors examine across exterior and attic zones