
Preparing your home for a roof replacement means proactively protecting your property, coordinating logistics, and reducing disruption so installation goes smoothly. Most residential replacements take 1–3 days from tear-off through final cleanup. That short window rewards homeowners who start their roofing project preparation 4–6 weeks in advance, allowing time for permits, material delivery, and scheduling. Coastal Roofing & Construction works with Tampa Bay homeowners throughout this process, from the first inspection to the final walkthrough, to make sure nothing gets overlooked.
What are the key exterior preparation tasks to protect your property?
The exterior of your home takes the most direct impact during a roof replacement. Roofers need clear access to the structure, and falling debris, heavy equipment, and foot traffic can damage anything left in the work zone.
Start with your driveway. Roofing crews arrive with trucks, trailers, and a dumpster that needs a flat, accessible staging area. Move all vehicles off the driveway the night before installation begins. Confirm with your contractor exactly where the dumpster will sit, because planning dumpster placement in advance prevents damage to landscaping and keeps the site organized.
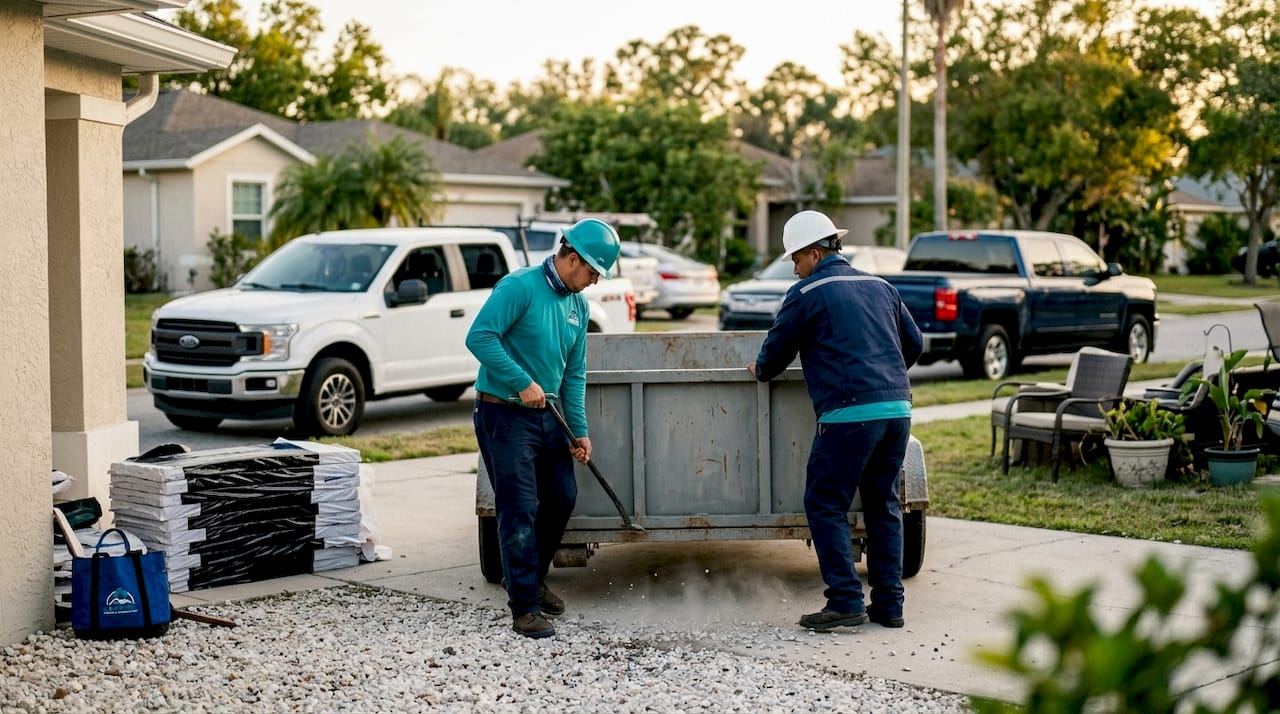
Clear the area around your home’s perimeter. Remove or relocate patio furniture, grills, potted plants, and yard décor within at least 15 feet of the house. Debris and nails travel farther than most homeowners expect. Pay special attention to fragile items like ceramic planters or decorative lighting fixtures near the roofline.
Protecting your landscaping takes more thought than simply moving furniture. Mark sprinkler heads with small flags so crews can avoid them. Cover garden beds with plywood or tarps to catch falling debris. Coastal Roofing & Construction recommends reviewing the full landscaping protection guide before your crew arrives, especially if you have mature plantings close to the foundation.
Remove or secure any exterior attachments that could interfere with the work. This includes:
- Satellite dishes and antenna mounts
- Exterior shutters or decorative panels near the roofline
- Solar panel disconnect notifications (coordinate with your solar provider)
- Outdoor security cameras that may need repositioning
Pro Tip: Walk the full perimeter of your home with your contractor during the pre-installation walkthrough. A contractor who flags potential concerns like sprinkler heads or low-hanging lights before work starts saves you money and avoids disputes later.
How should you prepare the inside of your home before installation?
Interior preparation is the step most homeowners skip entirely. They focus on the yard and forget that a roof replacement sends vibrations through the entire structure.
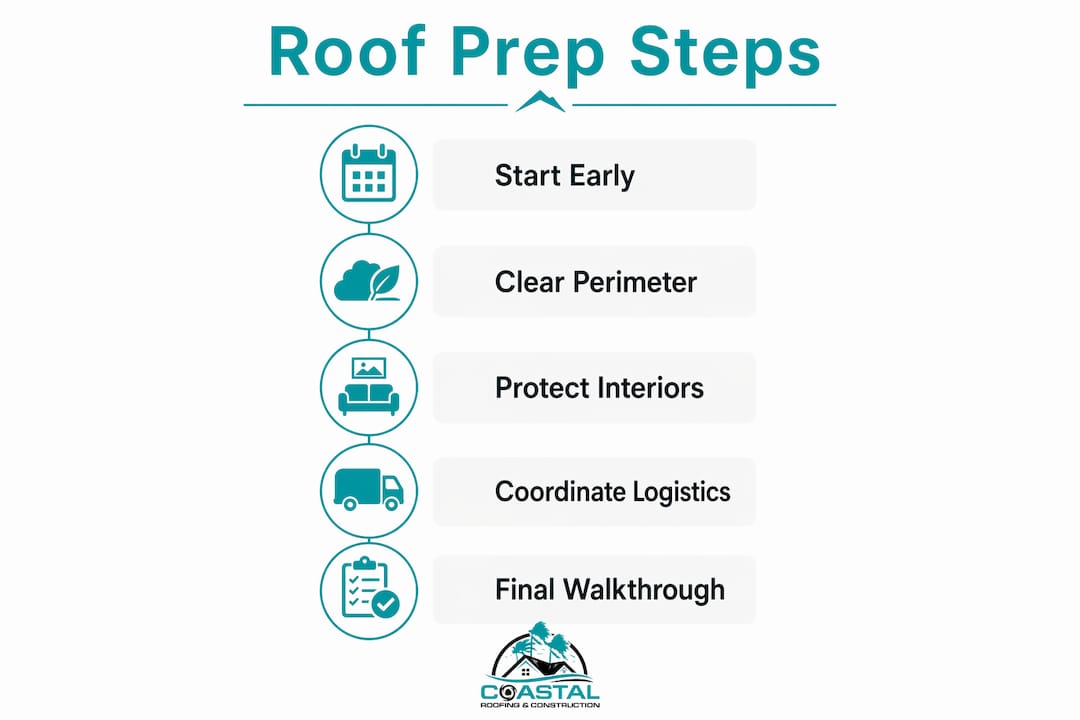
Vibrations during tear-off affect household items and electronics throughout the home. That means ceiling fans, wall-mounted televisions, and sensitive audio equipment can develop problems if left running during heavy work. Power down and unplug electronics on upper floors before the crew starts each morning.
Wall hangings are the most commonly damaged interior items during a roof replacement. Remove or secure picture frames, mirrors, and decorative shelving on upper floors and in rooms directly below the work area. A single heavy vibration from a nail gun or tear-off bar can knock a framed mirror off a wall hook.
Your attic needs attention too. Cover stored items with plastic sheeting to protect them from dust that filters through during tear-off. Clear a path to the attic access hatch so your contractor can inspect the decking from below if needed. Coastal Roofing & Construction crews routinely check attic conditions during installation, and an accessible hatch speeds up that process.
- Remove or secure wall art and mirrors on upper floors
- Cover attic storage with plastic sheeting
- Power down ceiling fans and unplug sensitive electronics
- Clear the path to your attic access hatch
- Plan your work-from-home schedule around the loudest phases
Pro Tip: Schedule calls and video meetings for early morning or late afternoon. Tear-off is the loudest phase and typically runs mid-morning through early afternoon on day one.
What logistics should you coordinate with your contractor beforehand?
Logistics coordination is where most roof replacements either run smoothly or fall apart. The homeowner’s role in this phase is more active than most people realize.
Start preparation 4–6 weeks out to allow enough time for permit applications, material ordering, and crew scheduling. Florida municipalities require permits for roof replacements, and processing times vary by county. Coastal Roofing & Construction handles permit applications for Tampa Bay homeowners, but you need to confirm the permit is in hand before work begins.
Here is a numbered checklist for the weeks leading up to installation:
- Confirm scope of work. Decide between a full tear-off and an overlay. A full tear-off reveals hidden decking damage that an overlay would simply cover up. This matters more in Florida, where humidity accelerates wood rot.
- Request a stop-work clause. A written agreement that pauses work after tear-off lets you approve any decking repairs before new underlayment goes down. This protects you from surprise costs.
- Confirm dumpster and staging logistics. Agree on exact placement two weeks before the start date to avoid last-minute conflicts with landscaping or neighbor access.
- Notify your neighbors. Give adjacent homeowners at least one week’s notice. Noise, trucks, and debris can affect their property too, and a heads-up prevents friction.
- Verify permit status. Confirm that municipal permits are officially closed after the final inspection. An open permit can complicate a future home sale.
- Clarify warranty registration. Ask your contractor who handles manufacturer warranty registration and when it will be submitted after installation.
Budget planning belongs in this phase too. Industry guidance recommends setting aside a contingency of 10–15% above your base estimate to cover hidden damage like rotted decking found during tear-off. That buffer prevents a mid-project financial surprise from stalling the job.
What should you expect during the installation itself?
A standard residential roof replacement follows a predictable sequence. Knowing each phase helps you plan your household schedule and understand what you are hearing and feeling inside the home.
The process moves through these stages: tear-off of existing materials, deck inspection and repair, underlayment installation, flashing around penetrations and edges, and finally shingle or metal panel installation. Cleanup and magnetic nail sweeps close out each day. Contractors typically perform multiple magnetic sweeps after installation to collect nails, and you can request additional passes if you have pets or children who use the yard.
Tear-off is the loudest and most disruptive phase. Expect heavy vibration, significant noise, and debris movement on day one. The installation phases that follow are noticeably quieter. Plan your most noise-sensitive activities, like remote work calls or caring for young children, around this reality.
Safety during installation requires keeping family members and pets away from the work zone. Falling debris and loose nails are the primary hazards. Restrict access to the yard and driveway perimeter throughout the workday. If you have a dog, arrange for them to stay indoors or at a boarding facility on tear-off day.
The final walkthrough with your contractor is not optional. Walk the full property together after cleanup to confirm:
- All debris has been removed from the yard, gutters, and driveway
- Magnetic nail sweeps have been completed
- Flashing and ridge caps are properly installed
- Any decking repairs are documented
- Permit inspection has been scheduled or completed
The role of building inspectors in this process is to verify code compliance before the permit closes. Do not skip the final inspection, and confirm the permit is officially closed in the municipal system after the inspector signs off.
Key Takeaways
Proper preparation starting 4–6 weeks before installation protects your property, keeps the project on schedule, and prevents costly surprises during and after a roof replacement.
| Point | Details |
|---|---|
| Start early | Begin preparation 4–6 weeks out to allow time for permits, materials, and scheduling. |
| Clear the exterior | Remove furniture, vehicles, and décor within 15 feet of the house before the crew arrives. |
| Protect the interior | Secure wall hangings, cover attic storage, and power down electronics on upper floors. |
| Coordinate logistics | Confirm scope, dumpster placement, permit status, and neighbor notifications before installation. |
| Do the final walkthrough | Walk the property with your contractor after cleanup to verify nail sweeps, flashing, and permit closure. |
What I’ve learned after years of Tampa Bay roof replacements
The preparation step that homeowners most consistently underestimate is dumpster placement. It sounds minor until a 10-yard dumpster crushes a sprinkler line or blocks a neighbor’s driveway. I have seen projects delayed by half a day because the staging area was not agreed upon in advance. Settle that detail at least two weeks out, in writing.
The second thing I push hard on is the full tear-off versus overlay decision. Overlays are cheaper upfront, but Florida’s humidity means wood rot hides under old shingles more often than homeowners expect. A full tear-off gives you a clean inspection of the decking and a roof that performs the way it was designed to. Skipping that step to save money usually costs more within five years.
Permit closure is the detail that bites homeowners years later. An open permit shows up on title searches and can stall or kill a home sale. Verify that the municipal permit is officially closed after the final inspection, not just that the inspection passed. These are two different things, and the difference matters when you go to sell.
My honest advice: treat the pre-installation walkthrough as the most important meeting of the entire project. Bring your checklist, ask every question you have, and get scope changes in writing. A contractor who welcomes that conversation is one you can trust.
— Ryan
Coastal Roofing & Construction is ready to guide you through every step
Replacing a roof in Tampa Bay involves more moving parts than most homeowners anticipate, from permit coordination to landscaping protection to final inspections.

Coastal Roofing & Construction is a licensed, insured, family-owned contractor serving Pinellas, Hillsborough, and Pasco counties. The team handles permit applications, pre-installation walkthroughs, and post-installation cleanup so you are not managing those details alone. Browse the completed project portfolio to see the quality of work delivered across Tampa Bay, or review the full residential roof replacement service page to understand what the process looks like from start to finish. Schedule a consultation and get a clear plan before a single shingle comes off your home.
FAQ
How far in advance should I prepare for a roof replacement?
Start preparation 4–6 weeks before your installation date to allow time for permits, material delivery, and scheduling coordination with your contractor.
How long does a roof replacement typically take?
Most residential roof replacements take 1–3 days depending on the size of the home, the roofing material, and the condition of the existing decking.
Should I choose a full tear-off or an overlay?
A full tear-off is the better choice because it exposes the decking for inspection. An overlay can hide rotted wood and reduce the lifespan of your new roof, especially in Florida’s humid climate.
What happens if my permit is not officially closed after installation?
An open permit can appear on a title search and create legal complications when you sell your home. Confirm the permit is closed in the municipal system after the final inspection passes.
Do I need to be home during the roof replacement?
You do not need to be home during installation, but you should be available for the pre-installation walkthrough and the final inspection walkthrough at the end of the project.