
Every metal roof comes with at least one warranty, but the four types that actually matter are the manufacturer (substrate) warranty, the finish/paint warranty, the workmanship/installer warranty, and the weathertight/system warranty. The single most important check before you sign anything: ask whether the leak coverage is prorated and who is financially responsible if water gets in. Those two questions will tell you more about real protection than any headline year ever will. Metal roof warranties typically fall into these four categories, each covering a different failure mode.
The four warranty types at a glance:
- Manufacturer (substrate) warranty — issued by the metal producer; covers corrosion, perforation, and structural failure of the base metal
- Finish/paint warranty — issued by the coating manufacturer; covers fade, chalking, and film adhesion failure
- Workmanship/installer warranty — issued by the installing contractor; covers errors in installation technique and flashing details
- Weathertight/system warranty — issued by the manufacturer or a third-party underwriter; covers water intrusion into the building
Three things to do before you sign a contract:
- Request the actual sample warranty document tied to the specific panel profile and finish you are buying, not a generic brochure
- Confirm whether the weathertight coverage is prorated or non-prorated, and what liability limit option applies (NDL, LICV, or LDV)
- Verify that your installer is factory-certified for the warranty program and ask for the registration deadline in writing
Table of Contents
- What does each metal roof warranty type actually cover?
- Key warranty terms you need to understand before signing
- How long do metal roof warranties typically run in 2026?
- What to confirm in writing before the installer starts
- How to file a claim and why claims get denied
- Key Takeaways
- What our team has learned about metal roof warranties
- Coastal Roofing & Construction makes warranty-backed metal roofing straightforward
- Authoritative sources for further reading
What does each metal roof warranty type actually cover?
Understanding what a metal roof warranty covers requires separating the four buckets, because they protect against completely different problems and are backed by different parties.
The manufacturer (substrate) warranty covers the metal itself. If the panel corrodes through, perforates, or fails structurally under normal conditions, this warranty pays. It is issued by the metal producer or panel manufacturer and typically covers panels and trim. It does not cover cosmetic issues or water intrusion.
The finish/paint warranty covers the coating applied to the metal. Fade, chalking, and peeling are the failure modes here. The warranty is usually issued by the coating manufacturer, sometimes co-branded with the panel maker. PVDF coatings (sold under trade names like Kynar 500 or Hylar 5000) carry the strongest fade and chalk protection. PVDF finishes typically outperform SMP coatings in both warranty length and specification thresholds, which matters if color retention is a priority for your home’s curb appeal.
The workmanship/installer warranty is the contractor’s promise. It covers mistakes in how the roof was installed: improper seaming, missed flashing details, incorrect fastener patterns. Coverage length varies widely from contractor to contractor. Manufacturers frequently require factory-certified installers before they will issue any system-level warranty, so the installer’s certification directly affects what you can claim later.
The weathertight/system warranty is the one that pays when your roof leaks. It covers water intrusion into the building and is the most valuable warranty for most homeowners. It can be issued by the panel manufacturer directly or by a third-party underwriter. Single Source and Joint weathertight structures differ in who bears responsibility: a Single Source warranty puts the manufacturer on the hook even if the installer is no longer in business.
Which components does each warranty typically cover?
| Component | Manufacturer (Substrate) | Finish/Paint | Workmanship | Weathertight/System |
|---|---|---|---|---|
| Panels | ✓ | ✓ | ✓ | ✓ |
| Trim and flashings | ✓ | ✓ | ✓ | ✓ |
| Fasteners and clips | Sometimes | — | ✓ | Requires approved spec |
| Underlayment | — | — | ✓ | Requires approved spec |
| Sealants | — | — | ✓ | Requires approved spec |
| Accessories (gutters, vents) | Varies | Varies | ✓ | Often excluded |
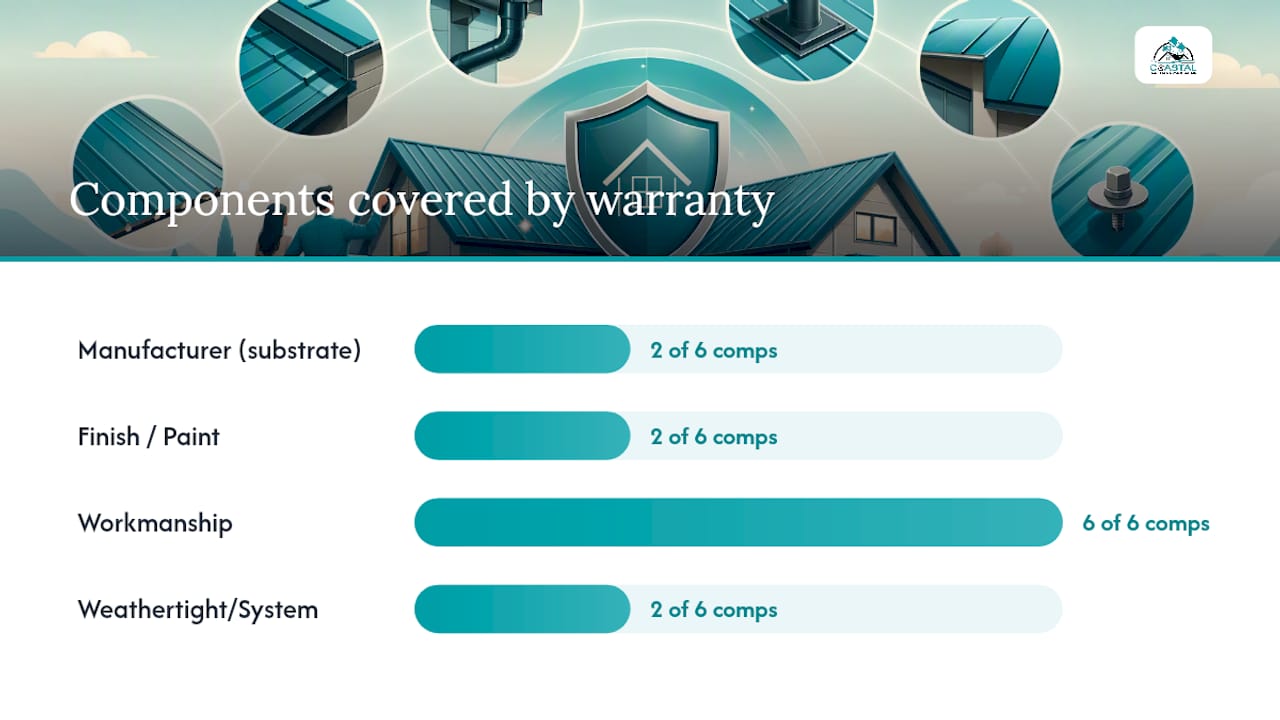
Accessories are the most common coverage gap. Gutters, ridge vents, and skylights are frequently excluded from weathertight programs or covered under separate, shorter terms. Confirm each accessory in the sample warranty before installation.
Pro Tip: Ask your contractor to walk through the component table above line by line against the actual warranty document. Any row that comes back “not covered” is a gap you need to price separately or negotiate into the contract.
A practical example: suppose a panel seam fails after 12 years and water enters the attic. The workmanship warranty would apply if the seam was improperly formed during installation. The weathertight warranty would apply if the system failed under normal weather conditions regardless of cause. The substrate warranty would not apply unless the panel itself corroded through. You may need to file under more than one warranty, which is why having all four in place matters.
Key warranty terms you need to understand before signing
Prorated vs. non-prorated coverage
Prorated coverage means the manufacturer’s payout shrinks over time according to a fixed schedule. A non-prorated warranty pays the same repair or replacement cost whether the failure happens in year 5 or year 35. A long headline term can be genuinely misleading when the underlying coverage is heavily prorated, because by year 20 or 25 the actual payout may cover only a fraction of real repair costs.
Here is how proration math works in practice. Some manufacturer warranty PDFs use a schedule like 1/600 per month to calculate the remaining coverage value. On a 40-year warranty using that formula, a claim filed at month 300 (year 25) would be calculated at 300/600 = 50% of the original materials value. By month 480 (year 40), coverage drops to 80% consumed, leaving only 20% of materials value. That is a very different outcome than the “40-year warranty” headline suggests.
How long do metal roof warranties typically run in 2026?
Warranty lengths vary by substrate and coating system, and the ranges below reflect what is commonly available in the U.S. market in 2026. These are representative ranges, not vendor-specific guarantees.
Warranty term lengths vary widely by substrate and coating system, with terms and proration patterns differing between product types and manufacturers.
A “lifetime” label deserves scrutiny. In most warranty documents, “lifetime” means the expected useful life of the product as defined by the manufacturer, not the life of your home or your ownership. The definition is usually buried in the terms. A 40-year non-prorated weathertight warranty from a financially stable manufacturer is often more valuable than a “lifetime” prorated substrate warranty from a smaller producer.
PVDF finishes are the clear leader in finish protection. Their fade and chalk thresholds are stricter, and many PVDF warranties run non-prorated for the full term. SMP coatings cost less upfront but carry shorter, more prorated coverage. If color retention matters to you over a 25-year horizon, the coating system choice is as important as the substrate choice.
What to confirm in writing before the installer starts
Getting the warranty right is almost entirely a pre-installation task. Once the panels are on the roof, your options narrow fast. Confirming eligibility before work begins is the checklist that actually protects you.
- Request the exact sample warranty for your panel profile and finish. Not a brochure. The actual warranty document, specific to the product being installed. Read the exclusions section before you sign anything.
- Confirm the proration schedule in writing. Ask the contractor to identify the specific proration formula and at what year coverage shifts from full to prorated.
- Identify the liability limit option. Ask whether the weathertight warranty is NDL, LICV, or LDV, and get the dollar cap or “no cap” confirmation in writing.
- Require proof of installer certification. The installer must be factory-certified for the specific warranty program. Ask for the certification number and confirm it is current. Roofing certifications from the manufacturer are what unlock full system warranty eligibility.
- Confirm approved components. Fasteners, clips, underlayment, and sealants must match the manufacturer’s approved materials list. Substituting a cheaper fastener can void the weathertight warranty entirely.
- Get the inspection schedule in writing. Many weathertight programs require milestone inspections (pre-installation, mid-installation, final) and charge fees for them. Know the schedule and costs before work starts.
- Confirm the warranty registration window. Most programs require registration within 30–90 days of installation completion. Missing this window can void coverage entirely.
- Get transfer rules in writing. If you sell the home, confirm whether the warranty transfers, how many times it can transfer, and what paperwork is required.
- Confirm slope and design eligibility. Some weathertight programs exclude low-slope applications or require specific panel profiles for certain pitches. Verify your roof’s slope qualifies.
- Establish a maintenance documentation plan. Ask what inspections and maintenance records you must keep to support a future claim, and how often they are required.
Questions to ask your installer directly:
- “Are you currently certified by the manufacturer for this specific warranty program?”
- “What components are on the approved materials list, and will you use all of them?”
- “What is the registration deadline, and will you handle registration or do I?”
- “If I sell the home in five years, how do I transfer the warranty?”
- “What maintenance do I need to document to keep the warranty valid?”
Documents to keep and for how long:
- Signed installation contract with panel and finish specifications: permanently
- Sample warranty document for your specific product: permanently
- Warranty registration confirmation: permanently
- Pre-install and post-install inspection reports: permanently
- Proof of purchase for materials: at least 10 years
- Annual maintenance inspection records: for the full warranty term
- Photos of completed installation (all flashings, penetrations, ridge details): permanently
How to file a claim and why claims get denied
The typical claims workflow
When something goes wrong, the process generally runs like this: you discover a leak or failure, document it with photos and written notes, then notify both the installing contractor and the warranty issuer (manufacturer or underwriter) in writing within the timeframe specified in your warranty. Most programs require written notice within 30–90 days of discovery. You then submit proof of purchase, installation records, inspection reports, and photos. The manufacturer or underwriter sends an inspector. Based on the inspection, they issue a repair or replacement estimate, and the claim is either approved, partially approved, or denied.
Timing matters at every step. A claim filed outside the notice window is frequently denied on procedural grounds alone, regardless of the underlying failure.
Why claims get denied
Installation not per specifications. If the installer deviated from the manufacturer’s approved installation guide, even in a minor detail, the manufacturer can deny the claim. This is the most common denial reason and the strongest argument for using a factory-certified installer.
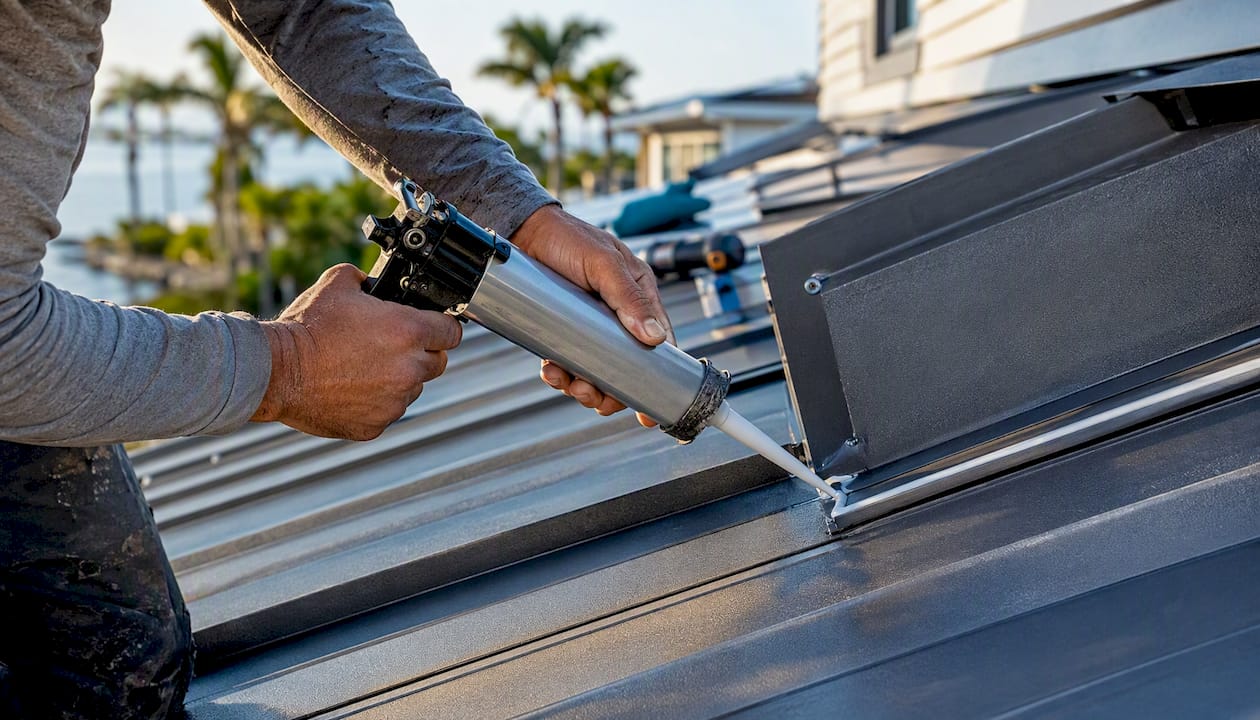
Unapproved penetrations. Solar panel mounts, satellite dishes, HVAC curbs, and skylights added after installation are a frequent denial trigger. Any penetration through the roof surface must use manufacturer-approved methods and materials. Document every penetration at the time it is made.
Failure to register. A warranty that was never registered is often treated as void. Confirm registration was completed and keep the confirmation document.
Lack of required maintenance. Most warranties require periodic inspections and maintenance. Skipping them gives the manufacturer grounds to deny a claim on the basis that the failure resulted from neglect rather than a product defect. A metal roof maintenance checklist is worth following annually.
Storm damage. Wind, hail, and hurricane damage are typically covered by your homeowner’s insurance policy, not the roof warranty. Trying to file storm damage as a warranty claim usually results in denial.
How warranty transfers work
Most manufacturer warranties allow one transfer to a subsequent owner. The transfer window is typically 30–60 days from the date of sale. You will need to submit a transfer application, proof of the original warranty registration, and documentation of the sale. Some programs charge a transfer fee. A warranty that has not been transferred within the window may become void for the new owner, which affects your home’s resale value. Keep a copy of the transfer confirmation in your home records.
Pro Tip: When you sell your home, include a warranty transfer packet in the closing documents: original warranty, registration confirmation, all inspection reports, and the transfer application. Buyers who see complete documentation are more confident in the roof’s condition, and it removes any ambiguity about transfer eligibility.
Key Takeaways
The most protective metal roof warranty in 2026 combines non-prorated weathertight coverage backed by a certified installer with a PVDF finish warranty and a registered, transferable substrate warranty for the specific panel and finish installed.
| Point | Details |
|---|---|
| Prioritize weathertight coverage | Non-prorated NDL weathertight coverage is the most valuable protection against leaks and out-of-pocket repair costs. |
| Proration math changes everything | A 40-year prorated warranty at 1/600 per month leaves only 20% of materials value at term end; always ask for the proration schedule. |
| Installer certification is required | Most weathertight and system warranties are void without a factory-certified installer; verify certification before signing. |
| Register promptly and document everything | Missing the registration window (typically 30–90 days) or skipping required maintenance inspections are the two most common ways valid claims get denied. |
| Coastal Roofing & Construction | Serves Tampa Bay homeowners with factory-certified metal roof installations, pre-install warranty review, and documented inspections that preserve full warranty eligibility. |
What our team has learned about metal roof warranties
The gap between what a warranty headline promises and what it actually delivers is wider than most homeowners expect. A 50-year warranty sounds like a lifetime of protection. But if the coverage is prorated after year 20, the payout on a major repair in year 30 may not cover labor costs, let alone materials. The number on the brochure is a marketing figure. The proration schedule and the liability limit option are the financial reality.
The other thing that gets overlooked: the installer’s certification is not just a credential. It is the mechanism that keeps the warranty alive. A manufacturer can and will deny a claim if the installer was not certified at the time of installation, even if the installation itself was technically sound. Homeowners who hire on price alone and skip the certification check are essentially buying a warranty they cannot use.
Coastal environments add another layer. Salt air does not care about your warranty term. It attacks fasteners, clips, and coating edges in ways that accelerate failure timelines, and many standard programs quietly exclude marine exposure in the fine print. In Tampa Bay, that exclusion is not a hypothetical. It is a real risk on every coastal property. The right answer is not to avoid metal roofing. It is to require the right substrate, the right fastener spec, and explicit coastal eligibility language before the first panel goes up.
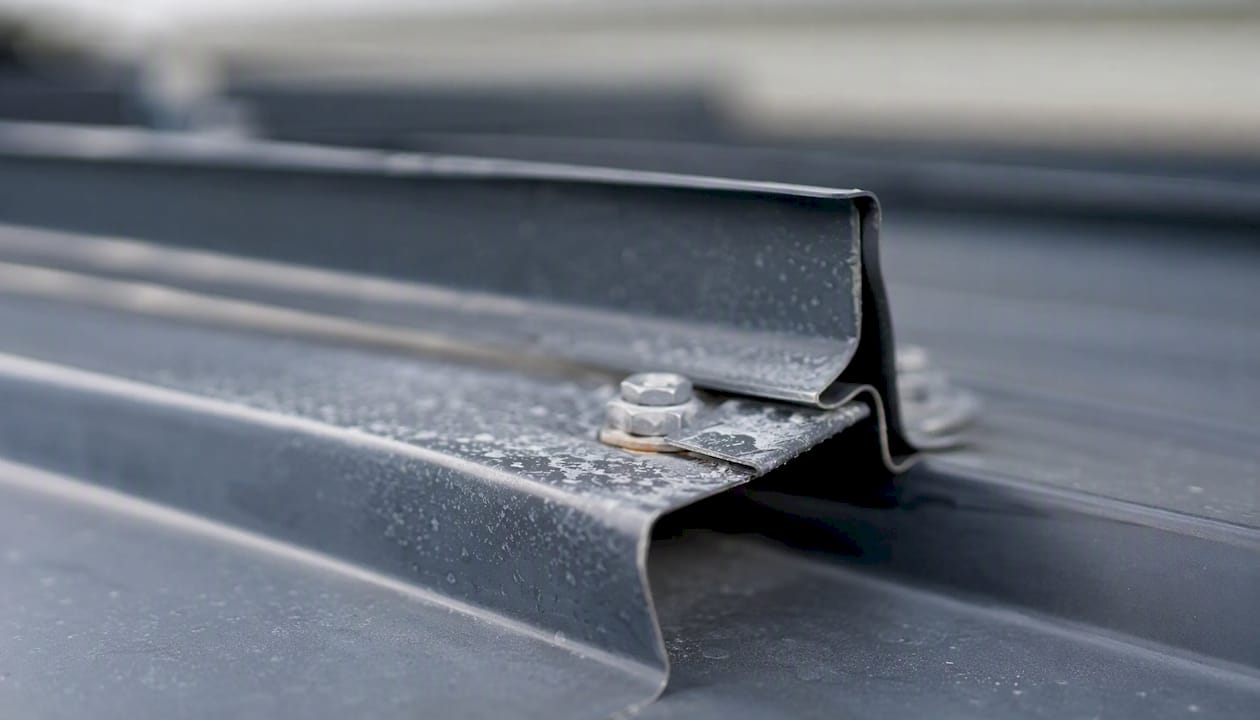
The homeowners who get the most from their metal roof warranties are the ones who treat the warranty review as part of the buying decision, not an afterthought after the contract is signed.
Coastal Roofing & Construction makes warranty-backed metal roofing straightforward
Securing a metal roof warranty that actually pays requires certified installation, approved materials, and documented inspections from day one. For Tampa Bay homeowners, that means working with a contractor who handles the warranty process as part of the job, not as an afterthought.

Coastal Roofing & Construction is factory-certified with manufacturers including Tri County Metals, which means the team qualifies for weathertight and system warranty programs that require certified installers and pre-approved components. Before installation begins, the team reviews the actual sample warranty document for your specific panel and finish, confirms coastal eligibility, and walks you through the proration schedule and liability limit options so there are no surprises later. During and after installation, Coastal Roofing & Construction documents required inspection milestones, handles warranty registration, and keeps the records you will need to support a future claim or transfer coverage when you sell.
What the team does to keep your warranty valid:
- Factory-certified crews using manufacturer-approved fasteners, clips, and underlayment
- Pre-install and post-install inspection reports filed with the warranty program
- Warranty registration completed within the required window
- Ongoing maintenance guidance and inspection scheduling
If you are ready to install a warranty-backed metal roof in Tampa Bay, contact Coastal Roofing & Construction for a detailed estimate that includes the full warranty documentation package for your specific project.
Authoritative sources for further reading
The sources below are the primary references for metal roof warranty terms, program requirements, and proration schedules. Each is worth reading in full before you finalize a purchase decision.
- Metal Roof Warranty: What To Confirm Before The Install Starts
- Metal Roofing Warranty – Weathertightness | McElroy Metal
- Weathertight Warranty Program (Metal Alliance / Roofing Warranty, LLC)
- Metal Roofing Warranties: What They Typically Offer & Cover
- DECRA metal roofing warranty (sample PDF)
- Warranties & Maintenance (McElroy Metal)
- Metal Roof Warranty Guide: 25-50 Year Coverage Explained
- What to look for in a metal roofing warranty (Viotell)